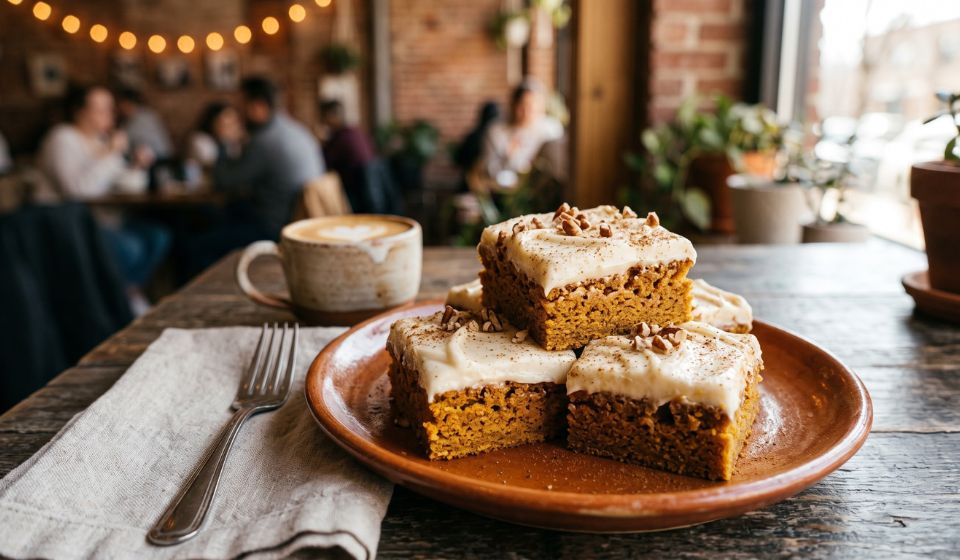
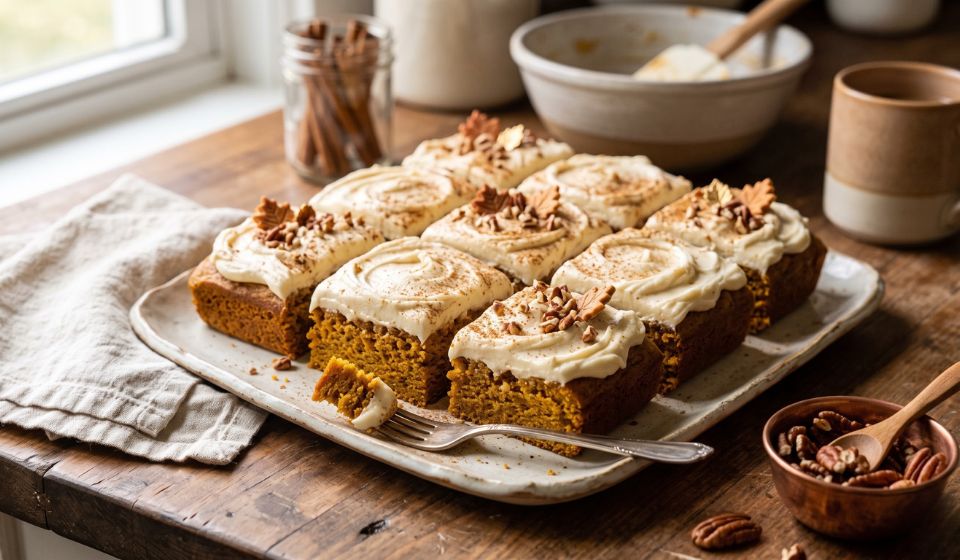
If you’re looking for the perfect fall dessert that’s simple to make and guaranteed to impress, these Pumpkin Bars with Cream Cheese Frosting are exactly what you need. They are incredibly soft, moist, warmly spiced, and topped with a rich, tangy cream cheese frosting that perfectly complements the pumpkin flavor.
Unlike pumpkin cake, these bars are baked in a sheet pan, making them easy to cut into squares for family gatherings, Thanksgiving, Halloween parties, potlucks, or an everyday dessert. The recipe uses common pantry ingredients and comes together in less than an hour, making it ideal for beginner and experienced bakers alike.
Why You’ll Love This Pumpkin Bars Recipe
These pumpkin bars are popular across the United States because they offer everything people love in a homemade dessert:
- Soft and moist texture
- Rich pumpkin flavor
- Warm fall spices
- Easy one-bowl batter
- Smooth homemade cream cheese frosting
- Perfect for parties and holidays
- Easy to store and freeze
Ingredients
For the Pumpkin Bars
- 2 cups all-purpose flour
- 2 teaspoons baking powder
- 1 teaspoon baking soda
- 2 teaspoons pumpkin pie spice
- 1 teaspoon ground cinnamon
- ½ teaspoon salt
- 4 large eggs
- 1½ cups granulated sugar
- 1 cup light brown sugar, packed
- 1 cup canned pumpkin puree (not pumpkin pie filling)
- 1 cup vegetable oil
- 2 teaspoons vanilla extract
For the Cream Cheese Frosting
- 8 ounces cream cheese, softened
- ½ cup unsalted butter, softened
- 3½ cups powdered sugar
- 1 teaspoon vanilla extract
- Pinch of salt
Optional Toppings
- Chopped pecans
- Chopped walnuts
- Ground cinnamon
- Pumpkin pie spice
- Caramel drizzle
Kitchen Equipment
You’ll need:
- 9×13-inch baking pan
- Large mixing bowl
- Medium mixing bowl
- Electric hand mixer or stand mixer
- Measuring cups and spoons
- Rubber spatula
- Cooling rack
Step 1: Prepare the Baking Pan
Preheat your oven to 350°F (175°C).
Grease a 9×13-inch baking pan with butter or nonstick cooking spray. For easier cleanup, line the pan with parchment paper, leaving extra paper hanging over the edges so you can lift the bars out after baking.
Step 2: Mix the Dry Ingredients
In a medium bowl, whisk together:
- Flour
- Baking powder
- Baking soda
- Pumpkin pie spice
- Cinnamon
- Salt
Whisk for about 30 seconds to evenly distribute the spices and leavening agents.
Step 3: Mix the Wet Ingredients
In a large mixing bowl, combine:
- Eggs
- Granulated sugar
- Brown sugar
Beat for about 2 minutes until slightly lighter in color.
Add:
- Pumpkin puree
- Vegetable oil
- Vanilla extract
Mix until smooth and well combined.
Step 4: Combine the Batter
Gradually add the dry ingredients to the wet ingredients.
Mix just until no dry flour remains. Avoid overmixing because this can make the bars dense instead of soft and tender.
The batter will be thick but smooth.
Step 5: Spread into the Pan
Pour the batter into the prepared baking pan.
Use a spatula to spread it evenly into all corners so the bars bake uniformly.
Step 6: Bake
Bake for 25–30 minutes.
The bars are done when:
- A toothpick inserted into the center comes out clean.
- The top springs back lightly when touched.
- The edges begin pulling away slightly from the pan.
Do not overbake, or the bars may lose their moist texture.
Step 7: Cool Completely
Place the pan on a cooling rack.
Allow the pumpkin bars to cool completely before frosting. Warm bars can cause the frosting to melt.
Step 8: Make the Cream Cheese Frosting
In a large bowl, beat the softened cream cheese and butter until creamy and smooth.
Gradually add powdered sugar, one cup at a time, mixing well after each addition.
Add:
- Vanilla extract
- Pinch of salt
Continue beating for 2–3 minutes until the frosting becomes light, fluffy, and spreadable.
Step 9: Frost the Bars
Spread the frosting evenly over the cooled pumpkin bars using an offset spatula or butter knife.
For extra flavor, sprinkle with chopped pecans, walnuts, cinnamon, or pumpkin pie spice.
Step 10: Slice and Serve
Cut into 18–24 squares depending on your preferred serving size.
Serve chilled or at room temperature.
These pumpkin bars pair wonderfully with:
- Hot coffee
- Chai tea
- Apple cider
- Hot chocolate
- Vanilla latte
Tips for Perfect Pumpkin Bars
- Always use 100% pumpkin puree, not pumpkin pie filling.
- Bring cream cheese and butter to room temperature before making the frosting.
- Measure flour correctly by spooning it into the measuring cup and leveling it off.
- Avoid overmixing the batter.
- Cool completely before frosting.
- Refrigerate leftovers because of the cream cheese frosting.
Delicious Variations
Try these easy variations:
- Add 1 cup chocolate chips.
- Stir in chopped pecans or walnuts.
- Mix in white chocolate chips.
- Add orange zest for a fresh citrus flavor.
- Top with salted caramel sauce.
- Sprinkle with toasted coconut.
Storage Instructions
Refrigerator
Store in an airtight container for up to 5 days.
Freezer
Freeze unfrosted bars for up to 3 months.
Wrap tightly in plastic wrap and aluminum foil.
Thaw overnight in the refrigerator before frosting.
Nutrition Information
| Nutrient | Amount Per Serving |
|---|---|
| Calories | 320 |
| Carbohydrates | 42g |
| Protein | 4g |
| Total Fat | 16g |
| Saturated Fat | 5g |
| Cholesterol | 55mg |
| Sodium | 220mg |
| Fiber | 1g |
| Sugar | 30g |
| Vitamin A | 70% DV |
| Calcium | 4% DV |
| Iron | 6% DV |
Nutrition values are approximate and may vary depending on ingredient brands and serving size.
Common Mistakes to Avoid
- Using pumpkin pie filling instead of pumpkin puree.
- Overbaking the bars, which can make them dry.
- Frosting the bars before they are completely cool.
- Using cold cream cheese, which can create a lumpy frosting.
- Overmixing the batter, resulting in a tougher texture.
Final Thoughts
These Pumpkin Bars with Cream Cheese Frosting are the perfect combination of soft texture, rich pumpkin flavor, warm spices, and creamy frosting. They’re simple enough for a weeknight dessert yet elegant enough for Thanksgiving, fall celebrations, bake sales, and family gatherings. With easy-to-follow steps, common ingredients, and plenty of customization options, this recipe is one you’ll want to make throughout the autumn season and beyond.