Halloween is one of the most exciting days of the school year, and homemade treats can make classroom parties even more memorable. The best Halloween school treats are easy to prepare, safe to transport, and made with simple ingredients that kids love. These spooky-themed snacks are perfect for classroom celebrations, fall festivals, lunchboxes, or after-school parties. They require very little baking, can be prepared ahead of time, and are easy for children to help decorate.
This recipe combines festive colors, crunchy textures, and sweet flavors into adorable Halloween-themed Rice Cereal Treat Pops. They’re individually wrapped, classroom-friendly, and simple enough for beginner bakers.
Why You’ll Love These Halloween School Treats
- Perfect for classroom parties
- Kid-friendly and easy to decorate
- Ready in under an hour
- No complicated baking required
- Easy to package individually
- Great make-ahead Halloween snack
- Fun family activity for kids
Ingredients
For the Treat Base
- 6 cups crispy rice cereal
- 10 ounces mini marshmallows
- 4 tablespoons unsalted butter
- 1 teaspoon vanilla extract
- Pinch of salt
For Decorating
- Orange candy melts
- White candy melts
- Black candy melts
- Candy eyes
- Halloween sprinkles
- Mini pretzel sticks (optional)
- Lollipop sticks
- Wax paper
Kitchen Equipment
- Large saucepan
- Mixing spoon
- Large mixing bowl
- 9×13-inch baking pan
- Parchment paper
- Microwave-safe bowls
- Spatula
- Cookie cutters (pumpkin, ghost, bat, or circle)
Step 1: Prepare the Pan
Lightly grease a 9×13-inch baking pan with butter or non-stick spray. Line it with parchment paper for easy removal.
Step 2: Melt the Butter
Place the butter into a large saucepan over low heat. Let it melt completely without browning.
Step 3: Add the Marshmallows
Add the mini marshmallows to the melted butter and stir continuously until completely smooth.
Mix in the vanilla extract and a small pinch of salt.
The mixture should be glossy and creamy.
Step 4: Add the Rice Cereal
Remove the saucepan from the heat.
Immediately add the crispy rice cereal.
Using a spatula, gently fold until every piece is coated with marshmallow mixture.
Avoid crushing the cereal.
Step 5: Press into the Pan
Transfer the mixture into the prepared baking pan.
Lightly butter your spatula or hands and gently press the mixture into an even layer.
Do not press too firmly or the treats may become hard.
Allow the mixture to cool for about 30 minutes.
Step 6: Cut the Shapes
Lift the cooled treats from the pan.
Use Halloween cookie cutters to create:
- Pumpkins
- Ghosts
- Bats
- Circles
- Stars
If you don’t have cookie cutters, simply cut them into squares or rectangles.
Step 7: Insert Lollipop Sticks
Carefully insert one lollipop stick into the bottom of each treat.
Place them on parchment paper before decorating.
Step 8: Melt the Candy Coating
Place each color of candy melts into separate microwave-safe bowls.
Microwave in 20-second intervals, stirring each time until smooth.
If needed, add a teaspoon of vegetable oil to thin the coating.
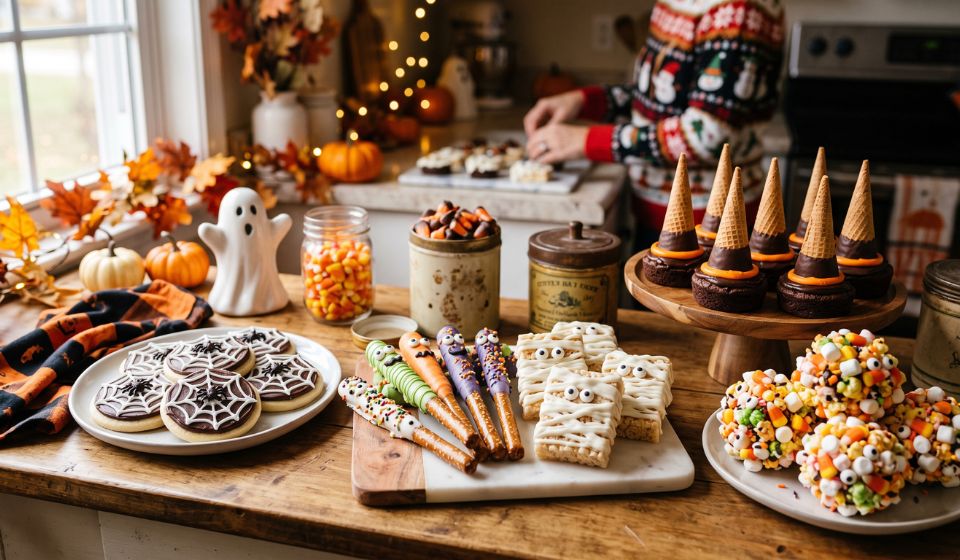
Step 9: Decorate the Halloween Treats
Pumpkin Pops
Dip into orange candy coating.
Attach candy eyes.
Use black candy melts to draw a smiling pumpkin face.
Ghost Pops
Dip into white candy coating.
Add candy eyes.
Draw a spooky ghost mouth with black candy melts.
Monster Pops
Use green or orange candy melts.
Decorate with candy eyes and colorful Halloween sprinkles.
Bat Pops
Cover with dark chocolate or black candy melts.
Add candy eyes and small chocolate candy pieces for ears.
Step 10: Let the Decorations Set
Lay each pop on parchment paper.
Allow them to dry for about 20–30 minutes until the coating hardens.
Optional Decorations
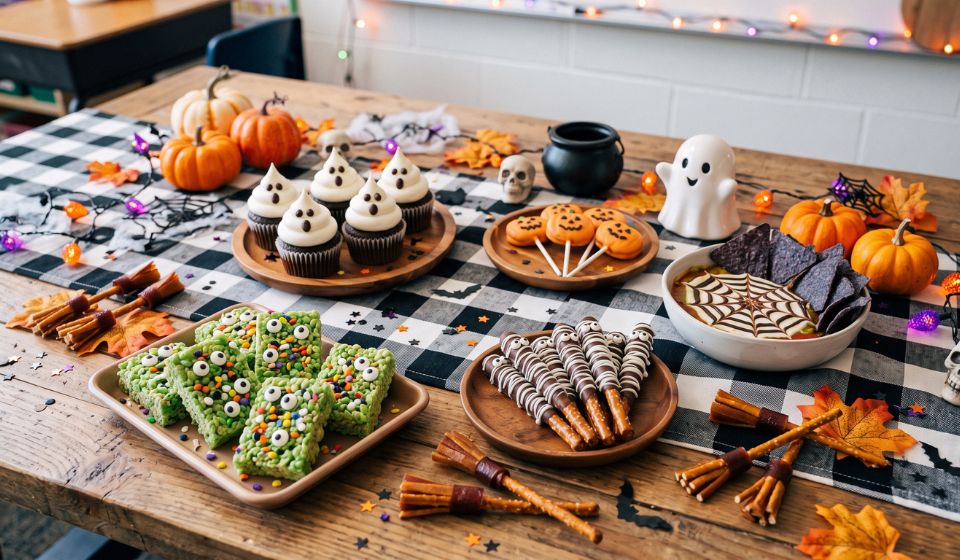
You can make your Halloween treats even more festive by adding:
- Halloween-colored sprinkles
- Orange sugar crystals
- Purple sanding sugar
- Candy corn pieces
- Mini chocolate chips
- Halloween edible glitter
Packing for School
If your child’s school allows homemade treats:
- Wrap each pop individually in clear treat bags.
- Tie with orange, black, or purple ribbon.
- Label for allergies if required.
- Transport in a single layer to avoid damage.
Always check your school’s food and allergy policy before sending homemade treats.
Storage Tips
- Store in an airtight container.
- Keep at room temperature.
- Best enjoyed within 3 days.
- Do not refrigerate, as refrigeration can make them hard.
- Freeze undecorated treats for up to 1 month.
Helpful Tips for Success
- Use fresh marshmallows for the softest texture.
- Melt ingredients over low heat to avoid burning.
- Grease your spatula before pressing the mixture.
- Decorate while the candy coating is still wet so sprinkles stick.
- Let children help with decorating rather than handling hot ingredients.
Nutrition Information (Approximate Per Treat)
| Nutrient | Amount |
|---|---|
| Calories | 185 |
| Carbohydrates | 31 g |
| Protein | 2 g |
| Fat | 6 g |
| Saturated Fat | 4 g |
| Sugar | 18 g |
| Sodium | 95 mg |
| Fiber | 0.5 g |
Recipe Variations
Peanut-Free Version
Skip peanut-containing candies and decorate using candy eyes, sprinkles, and colored candy melts.
Gluten-Free Version
Use certified gluten-free crispy rice cereal and verify that all candy decorations are gluten-free.
Chocolate Lovers
Drizzle melted milk, dark, or white chocolate over the decorated treats for extra flavor.
Fall Harvest Style
Instead of spooky faces, decorate with autumn leaves, pumpkins, and colorful fall sprinkles.
Final Thoughts
These Halloween School Treats are soft, chewy, colorful, and easy enough for families to make together. Their fun Halloween designs, simple ingredients, and portable size make them an excellent choice for school parties, classroom celebrations, and neighborhood gatherings. Whether you’re creating smiling pumpkins, spooky ghosts, or silly monsters, these festive treats are sure to delight kids while making Halloween celebrations even more memorable.