
September is the perfect month to refresh your manicure. Summer brights start giving way to warmer neutrals, soft browns, muted pinks, creamy whites, and subtle fall-inspired details. If you want something pretty without choosing a complicated design, simple September nails are an easy way to transition your look into the new season.
The best part is that simple nail designs don’t require professional-level skills. With a few basic nail colors, a thin nail brush, and a little patience, you can create polished-looking nails at home. Whether you prefer short nails, natural nails, almond shapes, or minimalist manicures, there are plenty of September-inspired styles to try.
What Makes Simple September Nails Perfect for This Month?
September sits right between summer and fall, so your manicure doesn’t have to look completely autumnal yet. Instead of immediately choosing very dark shades, you can experiment with soft transitional colors.
Think:
- Warm beige and creamy nude
- Dusty rose and muted pink
- Soft brown
- Caramel
- Milky white
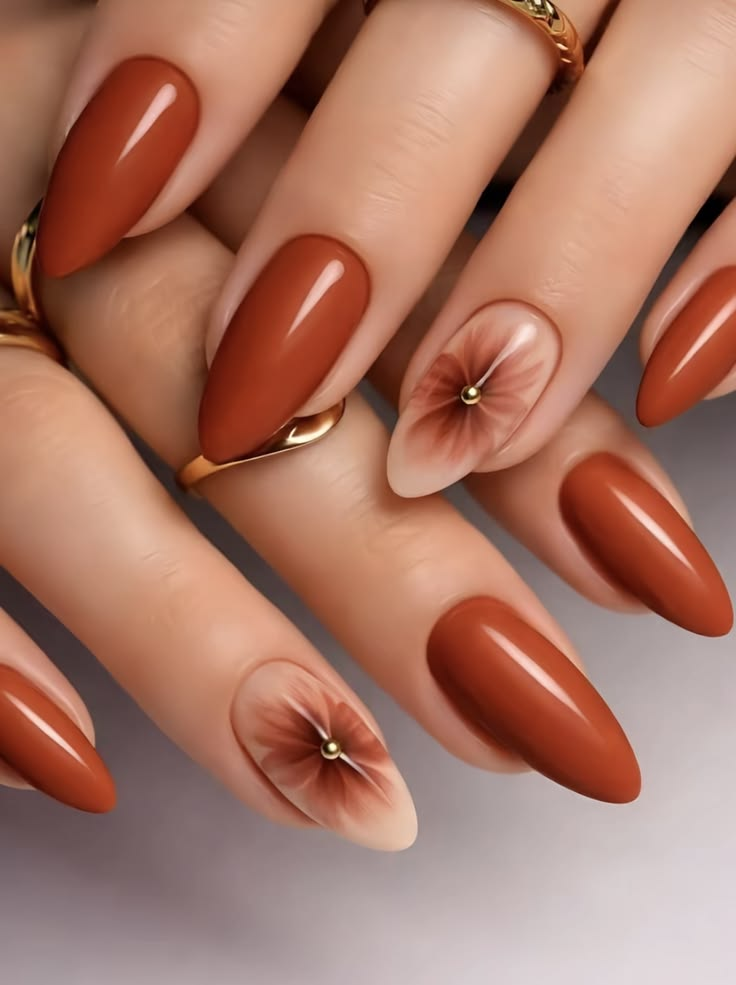
- Terracotta
- Sage green
- Burgundy accents
- Subtle gold details
The goal is to create a manicure that feels seasonal while remaining wearable for everyday outfits.
Easy Simple September Nails Tutorial
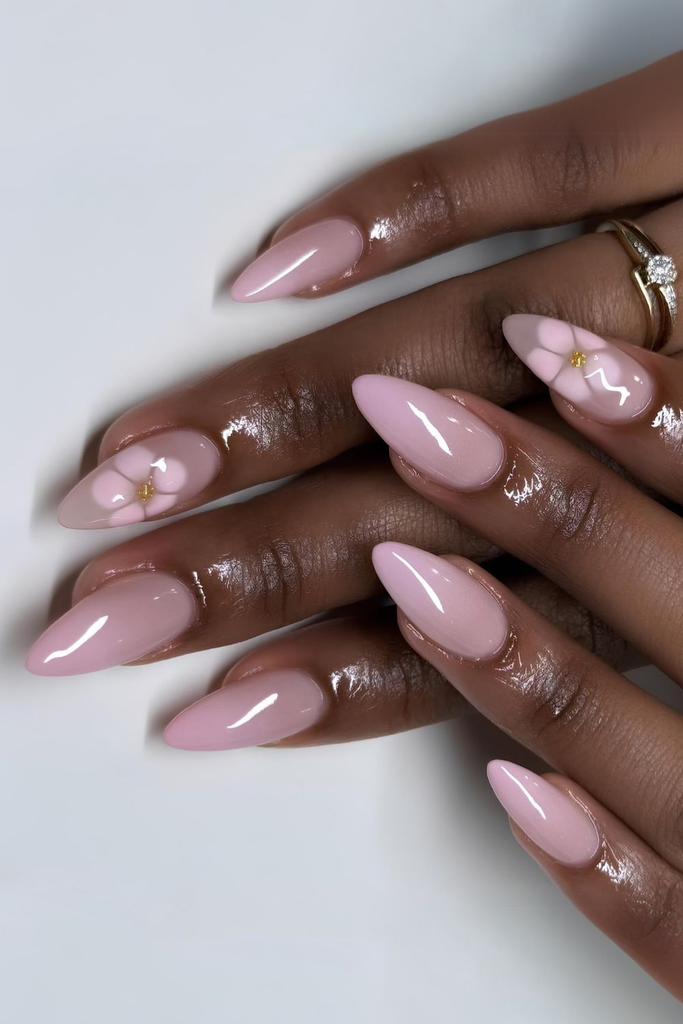
You don’t need a huge collection of products for this look. This beginner-friendly design combines a soft neutral base with tiny September-inspired details.
What You’ll Need
Before starting, gather:
- Base coat
- Soft nude, beige, or milky pink polish
- One warm brown or terracotta polish
- A thin nail-art brush or dotting tool
- Top coat
- Nail file
- Cuticle oil
You can change the colors depending on your personal style. For an even softer manicure, replace brown with dusty pink. For a more autumn-inspired version, use caramel or cinnamon tones.
Step 1: Prepare Your Nails
Start with clean, dry nails. Remove any old polish and gently shape your nails with a file.
For a simple September manicure, short square, squoval, almond, and oval shapes all work beautifully. You don’t need long nails to make minimalist nail art look elegant.
Push back your cuticles gently if needed and wash away any dust or oil from the nail surface.
Step 2: Apply a Base Coat
Apply a thin layer of base coat to every nail.
This step is easy to skip, but it helps create a smoother surface for your manicure. Allow it to dry before moving on.
Step 3: Choose a Soft September Base Color
Apply two thin coats of your chosen neutral polish.
A creamy nude is one of the easiest choices because it creates a clean background for tiny details. Milky pink, beige, sheer white, and soft taupe can also work beautifully.
Don’t worry if the first coat looks slightly transparent. Thin layers generally give you a smoother finish than applying one thick coat.
Step 4: Add Tiny Fall-Inspired Details
Once your base is completely dry, it’s time for the fun part.
Using a thin nail-art brush, add small details near the tips or sides of the nails. You can create tiny leaves, simple dots, miniature flowers, curved lines, or little abstract shapes.
For beginners, dots and curved lines are usually easier than detailed illustrations.
Try placing one or two tiny brown dots on each nail, or create a small curved line near the tip. Keeping the details minimal is what makes this style look sophisticated.
Step 5: Try a Mini French Tip
If you want your simple September nails to look slightly more polished, add a thin French tip.
Instead of classic bright white, try:
- Caramel
- Chocolate brown
- Muted rose
- Terracotta
- Soft taupe
Paint a very thin line across the tip of each nail. It doesn’t have to be perfectly thick or dramatic. A delicate line can make short nails look especially chic.
Step 6: Add a Tiny Accent Nail
You don’t have to decorate every nail.
Choose one or two accent nails and add a little extra detail. A tiny leaf, simple flower, small bow, or delicate swirl can instantly make the manicure more interesting.
Keeping most nails plain also makes the design easier for beginners.
Step 7: Seal Everything With Top Coat
Once your nail art has dried, apply a thin layer of glossy top coat.
Move the brush gently across the nail rather than repeatedly brushing over the same area. This can help prevent small details from smearing.
Allow your manicure to dry properly before doing anything that could damage the surface.
Simple September Nail Ideas to Try
If you want to customize the tutorial, these combinations are easy to recreate.
1. Nude + Brown
Start with a nude base and add tiny chocolate-brown dots or lines. This is probably one of the easiest September combinations and works with almost any outfit.
2. Milky White + Caramel
A milky white base with caramel French tips gives you a soft seasonal manicure without making it look too dark.
3. Dusty Pink + Burgundy
Use dusty pink as your base and add tiny burgundy accents. The combination feels feminine while still introducing a deeper fall color.
4. Beige + Tiny Leaves
Paint your nails beige or creamy nude, then add tiny brown or olive-green leaves to one or two accent nails.
5. Terracotta Micro French Tips
Instead of a traditional French manicure, use a thin terracotta line across the tips. It’s subtle but instantly feels more seasonal.
6. Minimalist September Dots
For the easiest design, use a neutral base and place two or three tiny dots near the cuticle or side of each nail. Different shades of brown can create a simple tonal effect.
How to Make Simple September Nails Last Longer
A beautiful manicure is much more enjoyable when it stays fresh for several days.
Apply polish in thin layers instead of thick coats. Allow enough drying time between layers, and always finish with a top coat.
Try to avoid using your nails as tools, especially when opening packages or scratching surfaces. Applying cuticle oil regularly can also keep the surrounding skin looking neat and hydrated.
If you’re using gel polish, follow the product’s curing instructions carefully and avoid peeling cured polish from the natural nail.
How to Make the Look More Pinterest-Worthy
The secret to a Pinterest-inspired manicure isn’t necessarily complicated nail art. Clean shaping, coordinated colors, and a neat finish can make even the simplest design look elevated.
For September, try combining a neutral base with just one seasonal accent color. A soft nude with chocolate brown, creamy white with caramel, or dusty pink with burgundy can create that effortless transitional look.
You can also mix glossy and matte finishes, add one tiny metallic detail, or leave one nail completely natural-looking for a minimalist effect.
Final Thoughts
Simple September nails are all about creating a manicure that feels fresh, polished, and seasonally appropriate without becoming overly complicated. Neutral bases, warm accents, delicate French tips, tiny leaves, and minimalist dots are all easy ways to transition your nails from summer into fall.
If you’re doing your nails at home, start with the easiest version: choose a neutral base, add one simple detail, and finish with a glossy top coat. Once you’re comfortable with the technique, you can experiment with more colors and designs.
September doesn’t require a dramatic manicure. Sometimes a clean nude base and one tiny seasonal detail are all you need for a chic new-season look.