
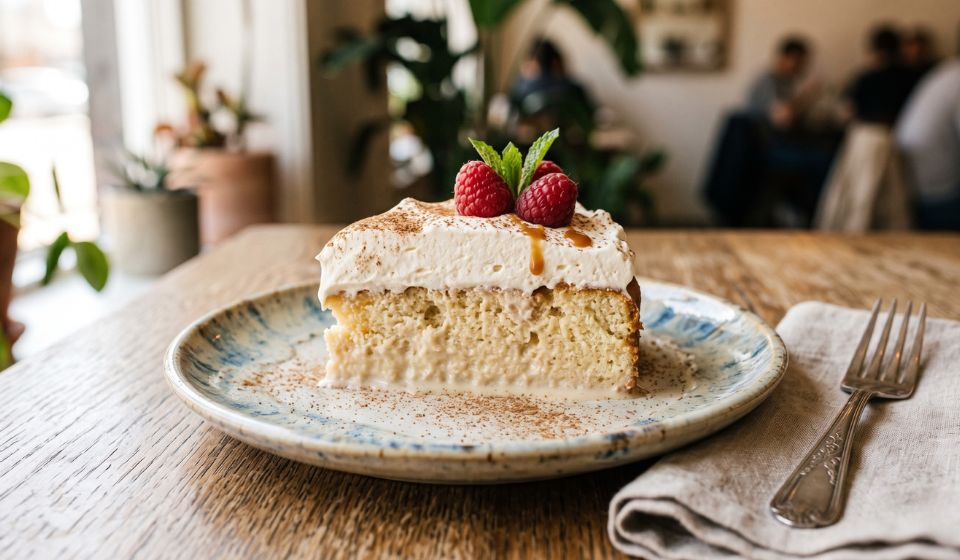
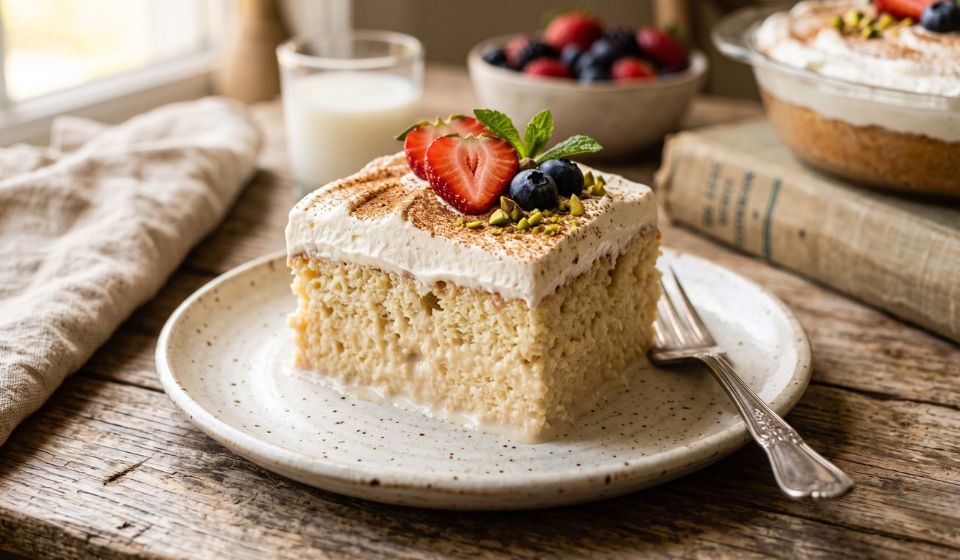
If you’ve ever tasted a slice of authentic tres leches cake, you know why it’s one of the most beloved desserts across the Americas. This classic sponge cake is soaked in a rich mixture of three different milks, creating a dessert that’s incredibly soft, moist, and creamy without becoming soggy. Topped with lightly sweetened whipped cream and a sprinkle of cinnamon or fresh berries, it’s a show-stopping cake that’s surprisingly easy to make at home.
This step-by-step recipe is designed for home bakers in the U.S. using common pantry ingredients and standard baking equipment. Whether you’re making it for birthdays, holidays, potlucks, or weekend gatherings, this homemade tres leches cake delivers bakery-quality results every time.
What Is Tres Leches Cake?
Tres Leches Cake, which means “three milks cake” in Spanish, is a light sponge cake soaked in a mixture of:
- Sweetened condensed milk
- Evaporated milk
- Whole milk or heavy cream
The sponge cake absorbs the milk mixture while maintaining its structure, resulting in an ultra-moist dessert that’s rich yet surprisingly light.
Why You’ll Love This Recipe
- Perfectly soft and fluffy texture
- Extra moist without falling apart
- Easy-to-find ingredients
- Great make-ahead dessert
- Better than most bakery versions
- Beginner-friendly instructions
Ingredients
For the Sponge Cake
- 1 cup all-purpose flour
- 1½ teaspoons baking powder
- ¼ teaspoon salt
- 5 large eggs, separated
- 1 cup granulated sugar, divided
- ⅓ cup whole milk
- 1 teaspoon pure vanilla extract
For the Three Milk Mixture
- 1 can (12 oz) evaporated milk
- 1 can (14 oz) sweetened condensed milk
- 1 cup whole milk
For the Whipped Topping
- 2 cups heavy whipping cream
- 3 tablespoons powdered sugar
- 1 teaspoon vanilla extract
Optional Garnishes
- Ground cinnamon
- Fresh strawberries
- Blueberries
- Raspberries
- Toasted coconut
- Mint leaves
Kitchen Equipment
- 9×13-inch baking pan
- Two mixing bowls
- Electric hand mixer or stand mixer
- Rubber spatula
- Fine mesh sieve
- Measuring cups and spoons
- Toothpick or wooden skewer
Step 1: Prepare the Oven
Preheat your oven to 350°F (175°C).
Lightly grease a 9×13-inch baking pan or line the bottom with parchment paper for easier removal.
Step 2: Mix the Dry Ingredients
In a medium bowl combine:
- Flour
- Baking powder
- Salt
Whisk everything together until evenly mixed.
Set aside.
Step 3: Separate the Eggs
Separate the egg whites and egg yolks into two clean bowls.
This step is important because whipping the egg whites creates the cake’s signature airy texture.
Step 4: Beat the Egg Yolks
Add:
- Egg yolks
- ¾ cup sugar
Beat for about 3–4 minutes until pale yellow and fluffy.
Mix in:
- Vanilla extract
- Whole milk
Continue mixing until smooth.
Step 5: Add Dry Ingredients
Gradually fold the flour mixture into the egg yolk mixture.
Mix only until combined.
Avoid overmixing to keep the cake light.
Step 6: Whip the Egg Whites
Using a clean bowl, beat the egg whites until soft peaks form.
Gradually add the remaining ¼ cup sugar.
Continue beating until stiff glossy peaks form.
The egg whites should hold their shape when the beaters are lifted.
Step 7: Fold Everything Together
Using a rubber spatula, gently fold the whipped egg whites into the batter.
Work slowly and carefully.
Do not stir aggressively because you want to keep as much air in the batter as possible.
The finished batter should look smooth, fluffy, and light.
Step 8: Bake the Cake
Pour the batter into the prepared baking pan.
Spread evenly.
Bake for 28–35 minutes, or until:
- Golden on top
- Toothpick inserted in the center comes out clean
- Cake springs back when lightly touched
Allow the cake to cool for about 30 minutes.
Step 9: Prepare the Three Milk Mixture
In a large measuring cup or bowl combine:
- Evaporated milk
- Sweetened condensed milk
- Whole milk
Whisk until completely smooth.
Step 10: Poke the Cake
Once the cake has cooled slightly, use a wooden skewer or fork to poke holes all over the surface.
Make plenty of holes so the milk can soak evenly into every bite.
Step 11: Slowly Add the Milk Mixture
Very slowly pour the milk mixture over the cake.
Start around the edges before moving toward the center.
Allow the liquid to absorb gradually.
If needed, pause for a few minutes before adding the remaining milk mixture.
Don’t worry if it looks like a lot of liquid—the sponge cake is designed to absorb nearly all of it.
Step 12: Refrigerate
Cover the cake with plastic wrap.
Refrigerate for at least 4 hours.
For the best flavor and texture, chill overnight.
This resting time allows the cake to fully absorb the milk mixture.
Step 13: Make the Whipped Cream
In a chilled bowl combine:
- Heavy whipping cream
- Powdered sugar
- Vanilla
Beat until medium-stiff peaks form.
Do not overwhip.
The whipped cream should be smooth and spreadable.
Step 14: Frost the Cake
Spread the whipped cream evenly over the chilled cake.
Use an offset spatula or the back of a spoon to create decorative swirls.
Step 15: Garnish and Serve
Top with your favorite garnish such as:
- Cinnamon
- Fresh strawberries
- Blueberries
- Mixed berries
- Toasted coconut
Serve chilled for the best texture.
Tips for the Best Tres Leches Cake
- Use room-temperature eggs for maximum volume.
- Don’t overmix the batter after adding the flour.
- Whip the egg whites until stiff peaks for a fluffy sponge.
- Pour the milk mixture slowly to help it absorb evenly.
- Chill overnight whenever possible.
- Use real heavy whipping cream instead of frozen whipped topping for the best flavor.
- Slice with a sharp knife cleaned between cuts for neat servings.
Common Mistakes to Avoid
Using a dense cake: A sponge cake absorbs milk much better than butter cakes.
Skipping the chilling time: The cake needs several hours to develop its signature texture.
Overbaking: A dry cake won’t absorb the milk mixture properly.
Pouring the milk too quickly: Slow pouring allows even absorption.
Overwhipping the cream: This can create a grainy topping.
Delicious Variations
Strawberry Tres Leches Cake
Add sliced strawberries between the whipped cream and garnish.
Chocolate Tres Leches
Mix ¼ cup cocoa powder into the dry ingredients and top with chocolate curls.
Coconut Tres Leches
Replace the whole milk with coconut milk and sprinkle toasted coconut on top.
Coffee Tres Leches
Add 2 teaspoons of instant espresso powder to the milk mixture for a rich coffee flavor.
Berry Tres Leches
Decorate with fresh blueberries, raspberries, and blackberries for a colorful presentation.
Storage Instructions
Store the cake covered in the refrigerator for up to 4 days.
Because of the milk mixture and whipped cream, it should always remain refrigerated.
Freezing is possible for up to 2 months, although the texture may soften slightly after thawing.
Nutrition Information (Approximate Per Serving)
| Nutrient | Amount |
|---|---|
| Calories | 410 |
| Protein | 9 g |
| Carbohydrates | 44 g |
| Fat | 22 g |
| Saturated Fat | 13 g |
| Cholesterol | 145 mg |
| Sodium | 170 mg |
| Sugar | 34 g |
| Fiber | 1 g |
| Calcium | 240 mg |
Final Thoughts
This authentic tres leches cake recipe delivers everything you’d expect from a classic bakery dessert—an incredibly soft sponge, a rich three-milk soak, and a light whipped cream topping that melts in your mouth. By following each step carefully and allowing enough chilling time, you’ll create a dessert that’s moist, flavorful, and perfect for birthdays, holidays, family dinners, or any special occasion. Once you try this homemade version, you’ll discover just how easy it is to make a tres leches cake that’s every bit as delicious—if not better—than the one from your favorite bakery.